Welcome to the Proof of Concept Room!
This room features technology that is being tested to determine the standard of what will be placed in classrooms of the future!
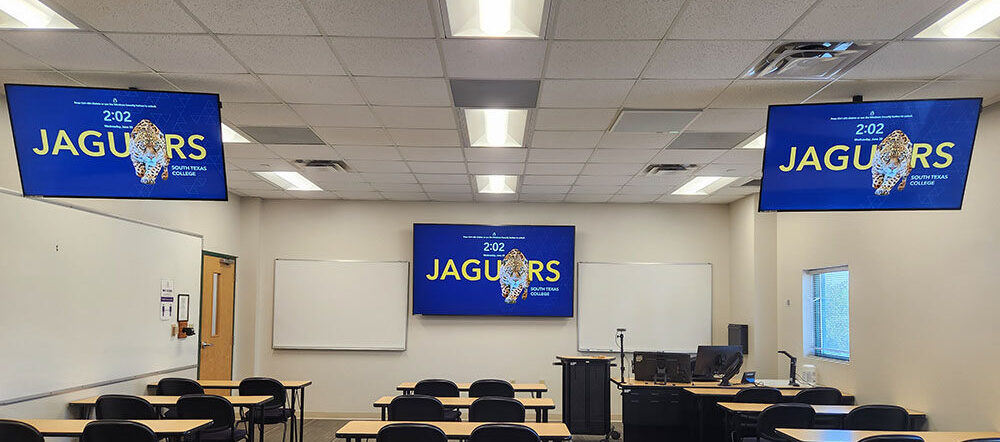
This room features the following:
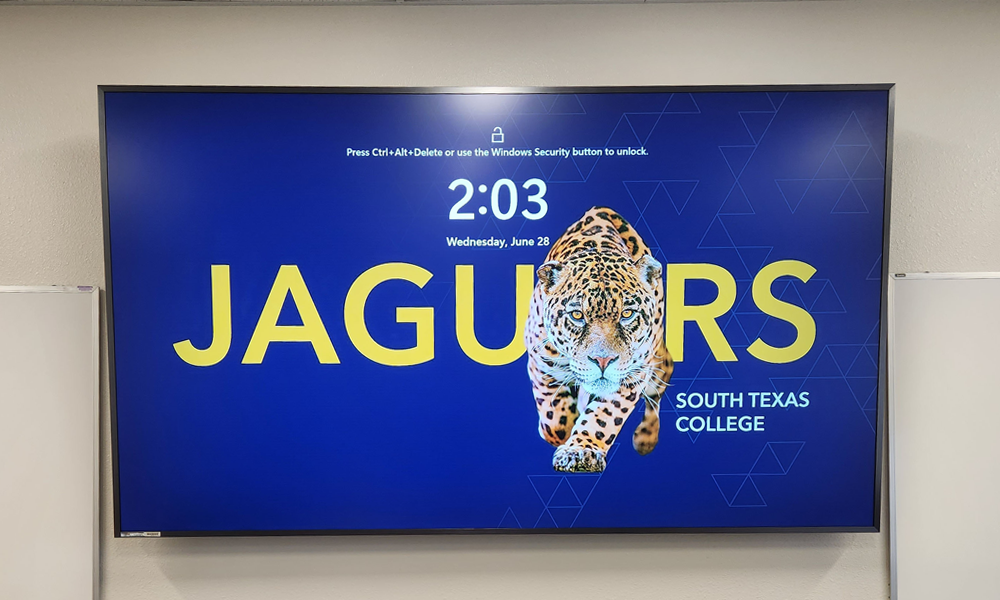
98″ Display
This display replaces the projector and screen found in most classrooms at the front of the room. It’s not interactive, but it is large and the content is clear!
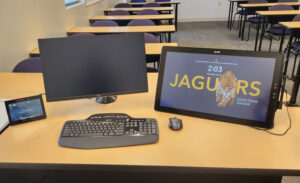
Dual Monitors
Dual monitors are installed to help you make the most of the room. The one on the right is always presented, while the one on the left is just for you and is always private!

Mid-Field Displays
These ceiling mounted displays help the students at the back of the room better see your content, so that every seat in the room is a good seat!
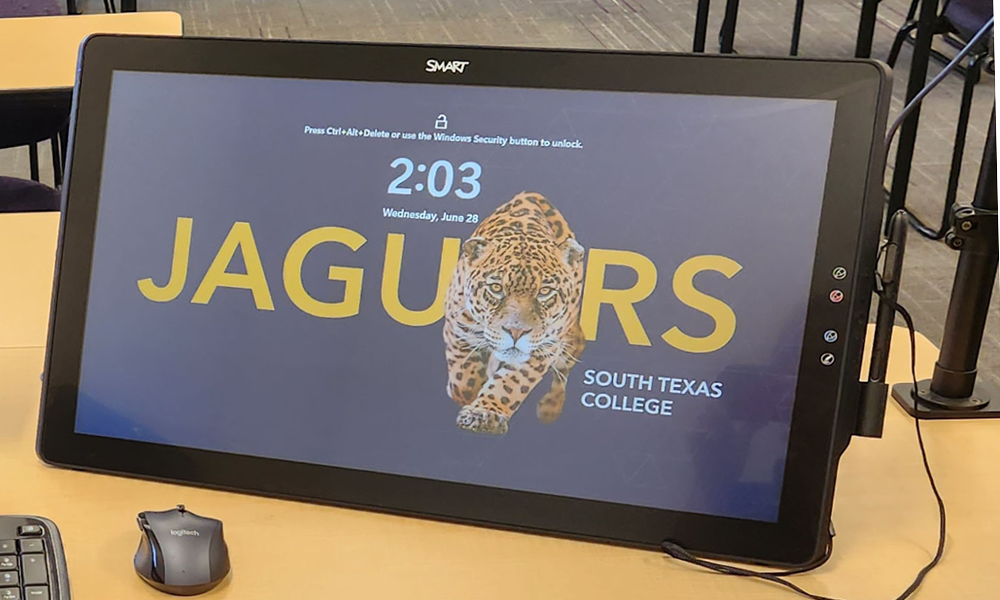
Smart Podium
The Smart Podium lets you annotate on the monitor itself, so you can face the class. This device also lets you annotate over Powerpoints, excels, websites, and more!
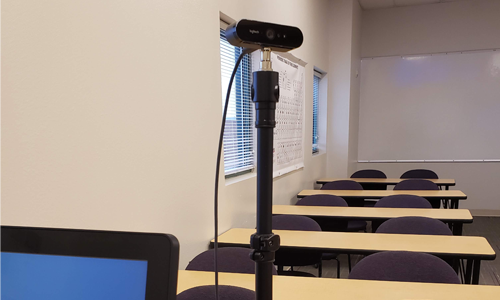
Webcam
This classroom also features a webcam! Use the webcam to record your lecture, or to interact with your students online!

Ceiling Microphone
This Ceiling Microphone can pick up your voice, and the voices of your students in class. Us it with lecture capture, or when meeting with online students!
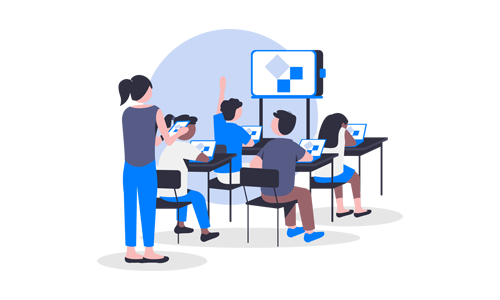
Vivi
Vivi is a device that allows you to screen mirror your device. Use it with your laptop or tablet to present content!
This Proof of Concept Room is also a Video Enhanced Room! As a Video Enhanced Room it has equipment in place to support a variety of unique needs.

Height Adjustable Webcam
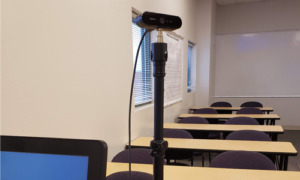
This room features a webcam on a tripod. You can adjust the height, and rotate the webcam to get more of the white board or more of you. This webcam connects to any video conferencing platform that you use.

Ceiling Microphone
This odd looking ceiling tile is a ceiling microphone. It can capture your voice, and the voices of your students while you’re on a video conference call. You’ll know it’s active when you see the little green light on it lit up.

Smart Podium
The Smart Podium is a monitor that supports annotation. Use it to annotate over PowerPoint presentations, excel documents, websites and more!
Tutorials
Here are some tutorials to help you get started with the room.

General
- Powering the Room On and Off
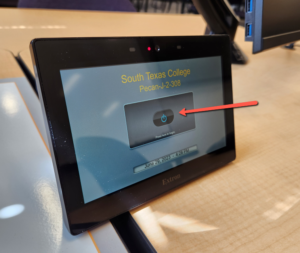
Powering on the room is simple! Just click on the Power button on the Touch Panel to power on the room. This will power on the 98″ display at the front of the room, as well as the mid-field displays that are mounted to the ceiling at the center of the room. Press the same button to power the displays off.
- How do I Use the Two Monitors?
Each monitor serves a purpose in this room.

The Smart Podium on the right is for annotation, and is the same monitor that will always be presented on the 98″ display and the mid-field displays.
The monitor on the left is for you, and will always be private. Feel free to prepare lessons here, look at student grades, or even use it for presentation notes during your next PowerPoint presentation!
- Using PowerPoint in Presenter Mode?
Want to see your presentation notes on the private monitor while using PowerPoint? Here’s how you can set this up:
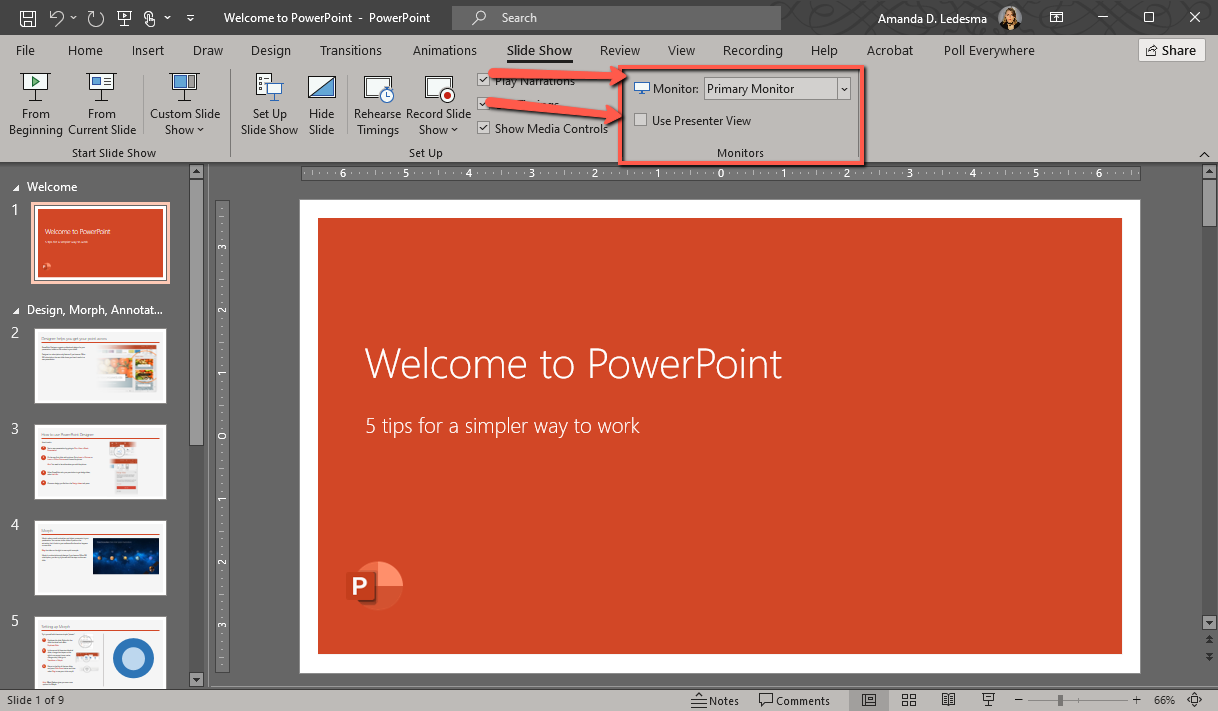
First, open a Powerpoint presentation and navigate to Slide Show.
Next, locate the checkbox labeled Use Presenter View and check the box. This will turn on presenter view. If you attempt start the presentation, you should see your notes appear on one of the monitors.
Note:If your notes appear on the wrong monitor, simply click on the drop down next to Monitor in the same area as the checkbox and choose a different monitor.
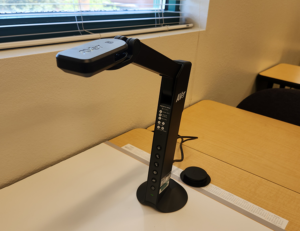
Document Camera
- Powering on the Document Camera
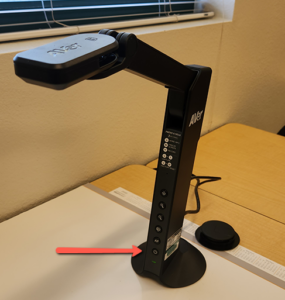
Powering on the document camera is easy. Simply click on the Power button on the neck of the document camera to turn it on. Other controls for the document camera are located here too.
- Using the Document Camera on the PC
The Document Camera is connected to the pc in this classroom. That means you can use it as if it’s a webcam in any software you choose to use in the room!
Simply open the application you want to use (like Microsoft Teams or Zoom), go into that application’s webcam settings, and select the document camera. It should pop up with a name like Aver Document Camera. Select it and you’re now using it like a webcam!
Webcam and Ceiling Microphone
- Using the Webcam and Ceiling Microphone in a Video Conference Software
- Open the video conference software you plan to use.
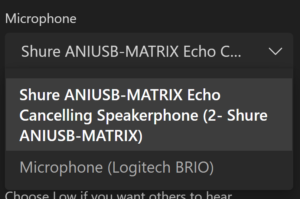
- Go to the audio/video settings for the software. You’ll need to check your microphone/speaker/webcam settings to make sure they’re using the classrooms Hybrid equipment (Windows tends to grab the default device and that may not always be what you want).
- Under the microphone setting, make sure it’s set to Shure ANIUSB-MATRIX Echo Cancelling Speakerphone
- Under the Video setting, make sure it’s set to Logitech BRIO
- From here, adjust the webcam in the room so it’s comfortable for you to use, and you’re ready to get started!
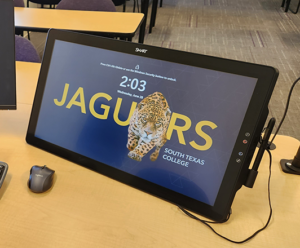
Smart Podium
- [VIDEO] Smart Podium Getting Started Tutorial Video
- [ARTICLE] Smart Podium – Smart Notebook Basic Tutorials
If you’re signing into Smart Notebook on this computer for the first time, you’ll be asked to sign in. Select the Microsoft option to use your STC Username and Password.
Vivi is a tool used to allow screen mirroring or “screen casting” to the display.
Tutorials
- Getting the Vivi App
To get started using Vivi, first you need to download and install the free Vivi app on your mobile device (or whatever device you plan to screen share with your class). You can find the app here Vivi App Download Center.
- Getting Started with Vivi
- Before you get started, contact the Instructional Support Team at Educational Technologies and ask them for a code to get an Instructor Account on Vivi.
- Next, follow this tutorial Vivi Instructor Tutorial to create a Vivi account and to access your classroom in Vivi.
- How to Use Vivi
Here are some tutorials and resources to help you get started using the Vivi application. You can also contact the Instructional Support Team at Educational Technologies for training or assistance!
- Getting Students Access to Vivi
Getting Students started with Vivi is easy! Here’s a guide we put together to make it easy for them to create accounts and access the room through the Vivi app. Feel free to print or share this with your students to help them get started.
If this is your first time using the Vivi app with your students and you’re unsure about how to get your students into the app and using it, give the Instructional Support Team at Educational Technologies a call. We can schedule some time to come to your class and help your students not only get the app and log in, but we can also educate your students on how to use the app.
- Who do I call if I’m having issues with Vivi
Contact the Instructional Support Team at Educational Technologies. Their contact information is below:
- Email: et_software@southtexascollege.edu
- Phone: 872-3627
Vivi offers a variety of features, such as:
- Screen casting from Android, iOS, Windows, and Chrome Book
- Students can take screenshots of the presentation and annotate to save their own notes
- Instructors can give students the ability to present (and always stop their presentation whenever they want)
- Instructors can poll their students and gather quick feedback using the Vivi app
Suggestions/Improvements?
Didn’t find the information you were looking for on this page?

